By Richard Robinson for NOFA/Mass
I love growing garlic, not least because it is counter-cyclical: it goes in just as everything else in the garden has come out, and it gives an abundant, profitable harvest early in the summer, while so many other things are only beginning to get going.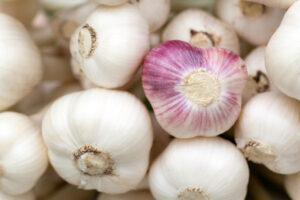
In his Summer Conference workshop on growing garlic, Karl Hammer, founder of Vermont Compost, noted that “garlic loves to grow.” And he should know—Karl was at one time a commercial garlic grower, and he still plants a crop each year. Here, I’ll give an overview of planting garlic, and describe some specifics of Karl’s practice, and some ways I do it differently. Both ways can give you a terrific crop.
In New England, garlic is planted in late October or early November, enough time for the cloves to grow some roots but not so much that they send up leaves. The standard advice is to plant the biggest cloves, and that’s what I do. But Karl recommends using somewhat smaller ones, since heads with the largest cloves can be sold at a premium, and in his experience, medium-size cloves give heads just as big. My guess is that for him, with his soil at 12% organic matter (perhaps one perk of running the largest composting operation in New England!), his medium cloves have no trouble reaching their peak potential just as easily as his larger ones. In my garden, at about 8%, that might not be true, so I will continue to plant mostly larger cloves. But this year I’ll plant some smaller ones as well and see how they measure up.
Garlic does well with 8″ spacing.
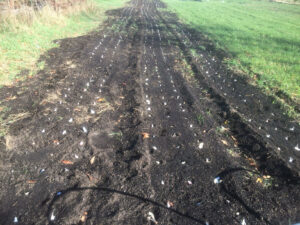
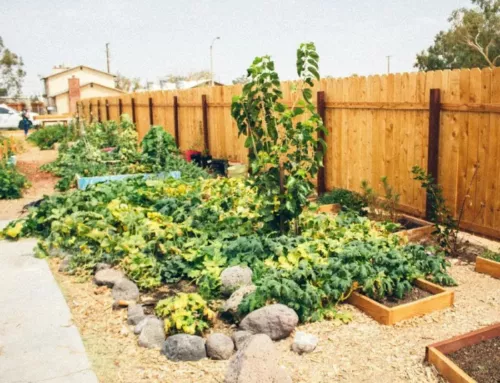
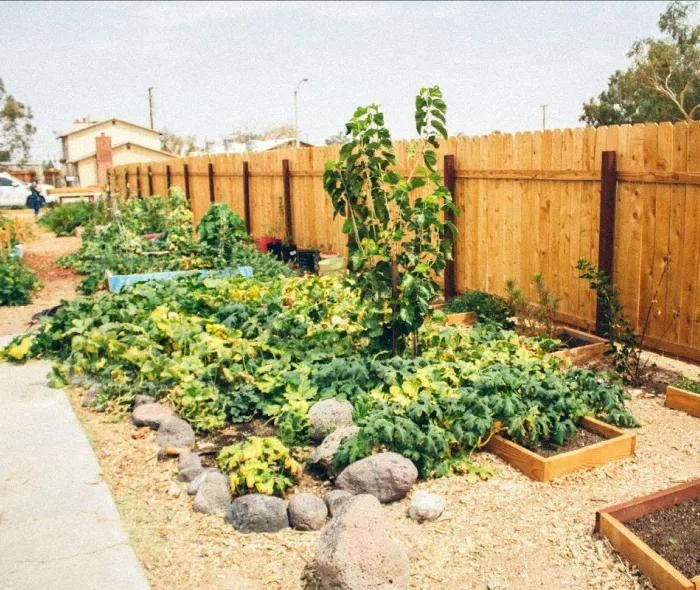
Garlic responds to rich soil, and I lay an inch or two of straight compost on top of my beds prior to planting. I plant my cloves on an 8” grid, which, in my 30” beds on 48” centers, means I plant 3 rows per bed, leaving a generous path between beds.
Karl plants his garlic about three inches deep, and doesn’t mulch; at that depth, there is not much chance of frost heaving the cloves out of the soil, one of the problems that mulch is meant to guard against. He uses a dibble to make the hole, and then drops in the clove, root end down.
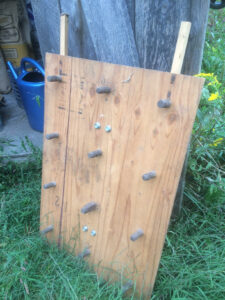
A homemade dibble board made of plywood and pegs.
Here is where my method differs the most. I use a dibble board to make shallow depressions in the compost, no more than 1” deep. I place a clove root end down in each depression, but make no effort to cover the clove in compost or soil. Instead, I add a layer of leaves at least 4” thick over the entire bed, and the paths between. This provides the cloves with all the protection they need from freeze-thaw cycles and gives me a virtually weed-free bed in the spring that remains so through to harvest. I grow hardneck garlic, and their leaves grow right up through the leaves; though some will be a bit curvy from pushing their way through, it doesn’t affect the head in any way. As a bonus, there is no digging required at harvest—I just grab and pull.
I use drip irrigation and will lay two lines down each bed before mulching. If I forget, or if I hope to avoid rodent damage over the winter, I make sure to lay it down in the early spring, just as the new leaves are poking through the leaves. Waiting till later, when the garlic leaves are taller, makes for a headache, as lacing the line through the delicate leaves is frustrating for the farmer and damaging for the plant.
Want to read more about Richard’s leaf mulching? Read last month’s article: Plan Now to Collect Fall Leaves—Nature’s Cover Crop.


