|
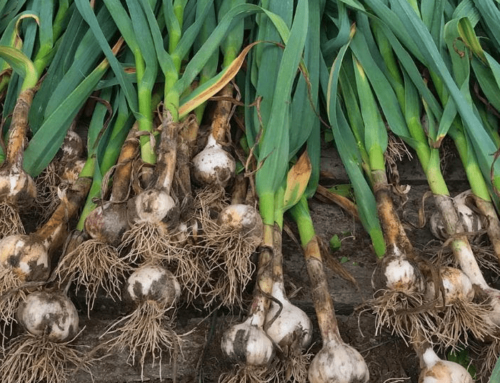
Fall is the right time to plant garlic. Like other bulbs, the goal is to have the plant establish strong roots with little to no top growth before winter sets in. I aim to plant my garlic during the first week of November, here in Eastern Massachusetts. Here are six tips for a successful garlic crop.
1. Test and amend your soil. A well-balanced soil high in organic matter will grow the best garlic. Use your soil test results to adjust phosphorus, potassium, and other minerals. You can work amendments into the top 2 inches of the soil, or just leave them on the surface, as they will be covered with mulch after planting.
2. Add some nitrogen. Your soil test won’t tell you your nitrogen level unless you pay extra, and it fluctuates too quickly to help much anyway. Garlic wants nitrogen, so I spread a slow-release nitrogen fertilizer onto the soil, aiming for a “window screen” appearance, with the fertilizer layer thick enough to see, but not so thick that I can’t see the soil below it. I like feather meal, or NatureSafe 13-0-0.
3. Lay down some compost. Garlic is a heavy feeder and will reward every benefit you provide to the soil. I plan to add at least an inch on my beds at planting time.
4. Use a simple dibble board. My planting dibble is a small piece of plywood with wine corks screwed into the bottom on an 8”x8” grid. I press the board into the compost, which makes the shallow depressions for my cloves.
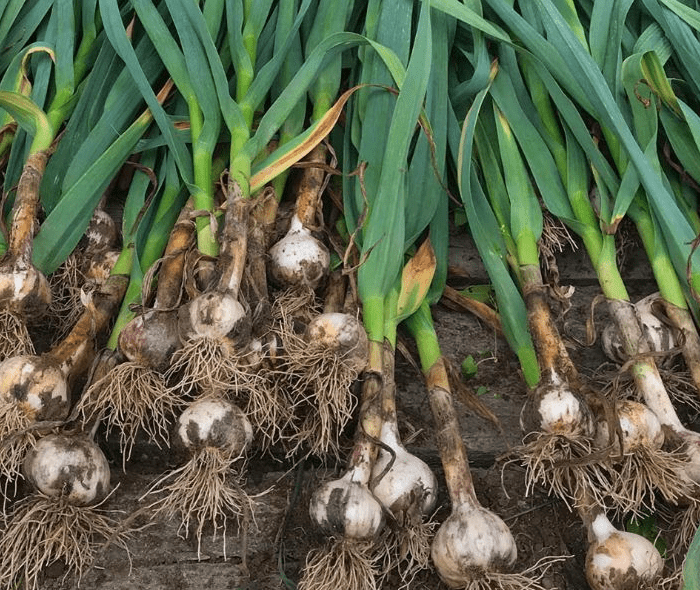
5. Separate the cloves, and plant root-side down. Use care separating the cloves of the garlic head, in order not to damage them. I do this by hand, using a finger to break the paper that surrounds the tips of the cloves, then wedging down to pull them apart. The largest cloves make the biggest heads, so I choose which to plant accordingly. I place one clove in each of my dibble holes, root-side down. I don’t bother to bury them, or even push them down into the compost.
6. Cover with leaf mulch. Here is what I think of as the real secret to large, healthy garlic: a thick layer of mulch that will protect the cloves over the winter, and slowly break down to enrich the soil and feed the plants. I use leaves, at least 6 inches thick, and preferably 8 to 10 inches thick. The plants will have no trouble emerging through those leaves in spring. Any kind of leaves will work fine, including oak and pine needles. If you can’t cover them fully right away, I recommend spreading a very light layer right after planting. Birds tend to peck at the white clove tips, dislodging some cloves and disordering the planting array. A light covering to hide them will be all the garlic needs for a couple weeks. Until they are fully mulched, I recommend watering to get the roots started. After mulching, they should need nothing until spring, when irrigation can begin.
For more on growing garlic, please see my Summer Conference presentation. You can purchase NOFA/Mass Summer Conference workshops here.
For additional tips and to learn more about the ways growing garlic can benefit your farm and/or growing space, join NOFA/Mass on Sunday, September 24th for the event Avoid Compaction: Plant Garlic into Your Cover Crop! at Freedom Food Farm in Raynham, MA. Click here to register and find out more information.
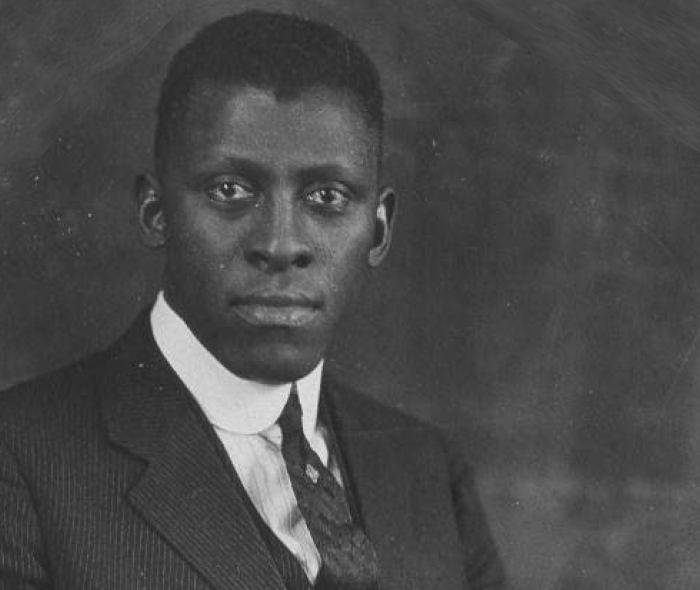
Richard Robinson grows about 2500 heads of certified organic garlic every year at Hopestill Farm in Sherborn, MA. You can find out more on Instagram @hopestillfarm
|
")


