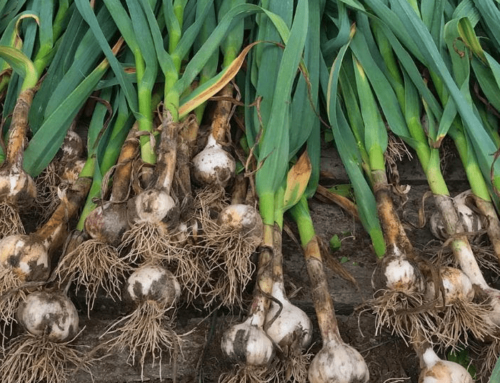
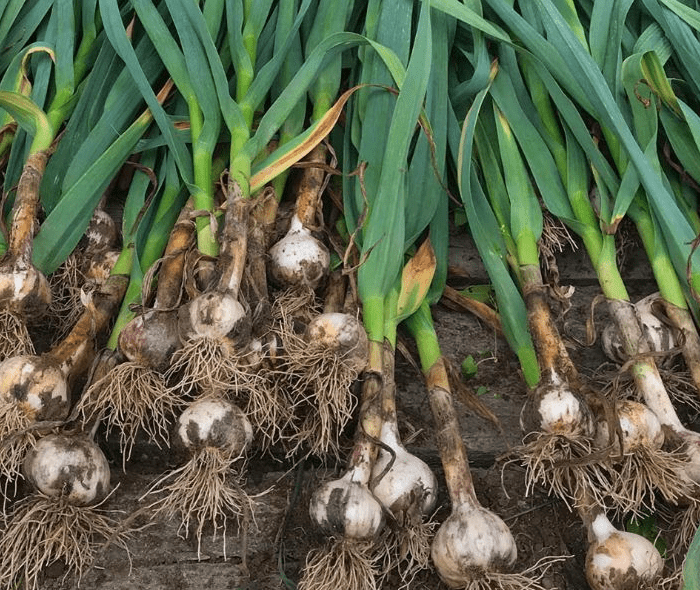
By: Richard Robinson
|
In this month’s Be a Better Grower newsletter, Richard Robinson, NOFA/Mass Board Member and farmer at Hopestill Farm, shares tips for making the switch to soil blocks, and shares his homemade potting soil recipe. Seed blocks are a great alternative to plug trays for starting all manner of seedlings throughout the growing season. |

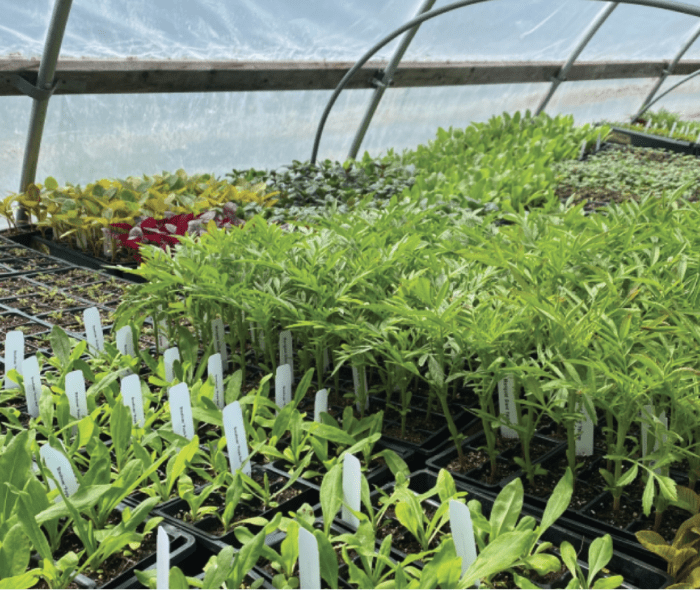
Lettuce seedlings in 1 1/2
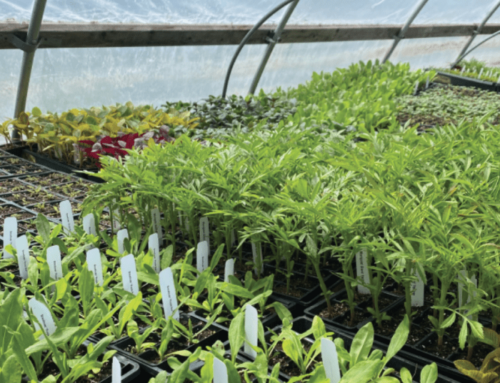
One of the most important, and satisfying, steps in scaling up to grow more food for your family or for sale is to start your own seedlings, rather than buying them from the local nursery.
You can reduce the profusion of plastic trays you’ll need, and grow great seedlings that are easy to transplant, by making soil blocks.
A soil block is a free-standing cube of potting soil with a dimple in the top, perfect for holding a single seed. Soil blocks are created with a “blocker”, a metal ejection mold. Soil blocks are made by pressing the blocker into moist soil, and then ejecting the blocks into an undivided 1020 tray.
Blockers come in a variety of sizes; I’ve found that the 1 ½” and 2” sizes are all I need for all my seedlings. You can fit 75 small blocks, or 44 large blocks, into a tray. Small blocks are perfect for lettuce, spinach, kale, bok choy, and other rapidly growing greens. I use the larger blocks for tomatoes, peppers, squash, cucumbers, broccoli, and other larger plants.

1 1/2 in and 2 in soil blockers
For me, a major advantage of soil blocks versus plug trays is the ease of transplanting. It can be a frustrating challenge to remove tiny seedlings from a 128 tray without damaging either the plant or the tray, or both.
With soil blocks, you just lift the block out and pop it into the soil. Seedling roots in plug trays will spiral around the cell; in soil blocks, they are more likely to be “air pruned” by contact with the air at the edge of each block. That said, packing blocks at all tightly in your tray, as I do, may allow the roots to keep growing into an adjacent block—not ideal, but rarely a problem.
Seedlings in plug trays are watered from the top and water drains out the bottom. Seedlings in soil blocks are typically grown in solid 1020 trays and are bottom watered.
I first learned about soil blocks from Eliot Coleman’s books, and before I tried them myself, I worried that the soil would just fall apart without the sides of a plug tray to hold it in place. But it doesn’t—potting soil has a very high proportion of fibrous material, usually peat moss, which, when moist, holds the block tightly together.
How to Make Your Own Potting Soil
To make your blocks, you can use commercially available potting soil (the bulk order is a great source), or you can make your own at less than half the cost, by my rough calculation. I combine the following dry ingredients in a large plastic bin:
peat moss …… 15 quarts
compost …… 5 quarts
perlite …… 1 quart
alfalfa meal …… 1 cup
limestone …… ⅓ cup
rock phosphate …… ⅓ cup
blood meal …… ⅓ cup
You can store this potting soil mix indefinitely. It may develop some fine white fungus over time, but this has not proven to be harmful to my plants.
How to Make Soil Blocks
I need about 4 quarts of this potting soil mix to make blocks that fill a 1020 tray.
To do that, I scoop the dry potting soil into a large mason’s tub, and add enough water to make a moist cake batter-like mix. I press the blocker into the mix, usually twice to get a good amount of soil into the molds.
I then hold the blocker just above the 1020 tray and squeeze the handle, lifting up as I do so, to leave the blocks in place, ready for seeding.
I use a Vibro hand seeder for almost all my seeding, one seed per block except for onions, which I grow with 2-3 seeds per block.
When you are done making blocks, be sure to rinse the blocker thoroughly, to avoid rusting.
Will you use a soil blocker this year? Let us know how it goes, or if you have any other tips to share!


